Electric motors are at the heart of countless machines, from industrial equipment to household appliances. Their smooth operation ensures efficiency and prevents costly downtime. However, motor performance can decline over time due to dirt, dust, and debris accumulation. Addressing these issues promptly is crucial, and an electric motor cleaner can be a powerful tool in troubleshooting and maintaining these systems. Understanding how to use it correctly can prevent long-term damage and extend the life of your motors.
Common Motor Problems and How They Manifest
Motor issues often present themselves subtly before leading to major failures. One of the most frequent signs is overheating. Dust and grime can insulate motor components, preventing heat from dissipating effectively. This not only reduces efficiency but also increases wear on bearings and windings. Another common issue is unusual noises during operation. Grinding, squealing, or rattling can indicate that dirt or debris has interfered with moving parts. Reduced performance, such as slower speeds or inconsistent torque, may also result from dirty contacts and windings.
Using an electric motor cleaner can help identify the underlying cause of these problems. By removing built-up dirt, dust, and grease, the motor can operate closer to its intended specifications. Observing changes in performance after cleaning often points to whether the issue was contamination-related or requires further mechanical or electrical investigation.
How to Use an Electric Motor Cleaner Effectively
Proper use of an electric motor cleaner involves more than simply spraying a solution on motor components. First, ensure that the motor is disconnected from its power source. Safety is paramount when working with electrical devices. Once the motor is powered down, remove any covers or panels to access the internal components. Inspect the motor visually to identify areas where dirt and grime have accumulated.
Apply the cleaner according to the manufacturer’s instructions. Many products are designed to evaporate quickly, leaving no residue behind, which allows the motor to be reassembled and powered without delay. For stubborn areas, gentle brushing or wiping can help loosen particles. After cleaning, allow the motor to dry completely before reconnecting it to power. Testing the motor at this stage can provide immediate feedback on whether the cleaning addressed the performance issues.
Using an electric motor cleaner in this way not only removes contaminants but also provides insight into the motor’s condition. Loose components, worn insulation, or early signs of corrosion may become more visible once the surface grime is removed, aiding in a more thorough troubleshooting process.
Diagnosing Persistent Motor Problems
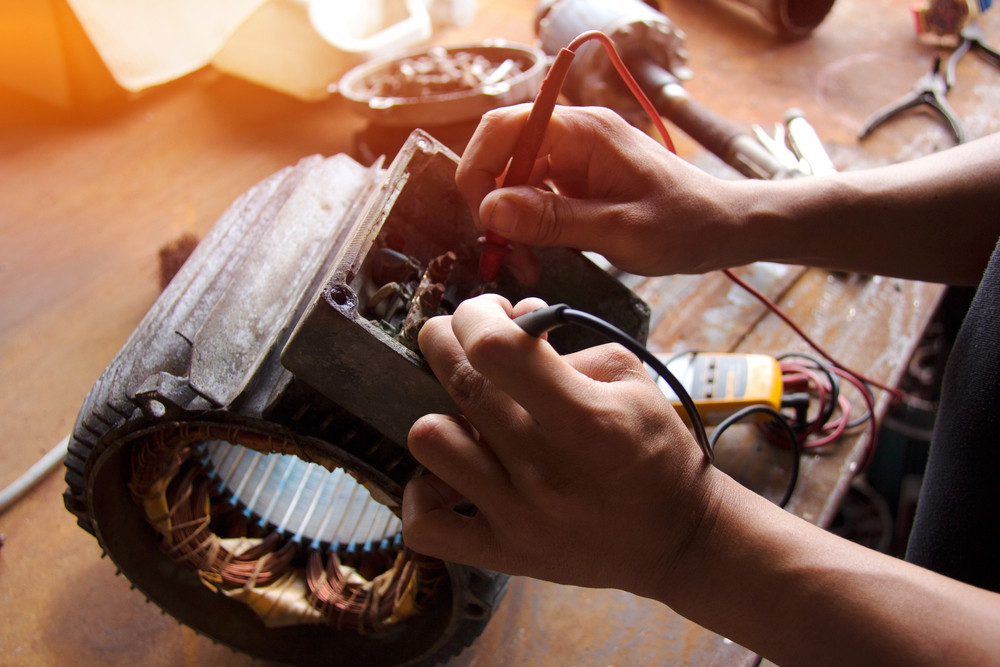
Sometimes, cleaning alone does not resolve motor issues. In such cases, an electric motor cleaner still plays a role in diagnostics. By eliminating dirt and debris, it reduces variables and allows technicians to focus on mechanical or electrical faults. For instance, if a motor continues to overheat despite cleaning, attention should shift to lubrication, bearing condition, or electrical load issues. Similarly, persistent noises might indicate misalignment, loose mounting, or damaged components rather than surface contamination.
Monitoring motor performance after cleaning is essential. Measuring parameters such as current draw, temperature, and vibration can help determine if the underlying issue is electrical or mechanical. Regular use of an electric motor cleaner as part of maintenance routines also establishes a baseline for cleanliness, making it easier to detect anomalies in future inspections.
Safety Considerations and Best Practices
While an electric motor cleaner is a useful tool, safe handling is critical. Always wear protective equipment such as gloves and eye protection to prevent exposure to chemicals. Ensure proper ventilation when using aerosol-based products, as fumes can be hazardous. Avoid spraying directly on sensitive electronic components unless the cleaner is specifically formulated for such applications.
Routine cleaning schedules prevent excessive buildup, reducing the likelihood of motor failure. Combining cleaning with other maintenance practices, including lubrication, tightening connections, and monitoring performance, ensures that motors remain reliable. Documenting each cleaning session and noting any observed issues can assist in identifying recurring problems and improving overall motor management.